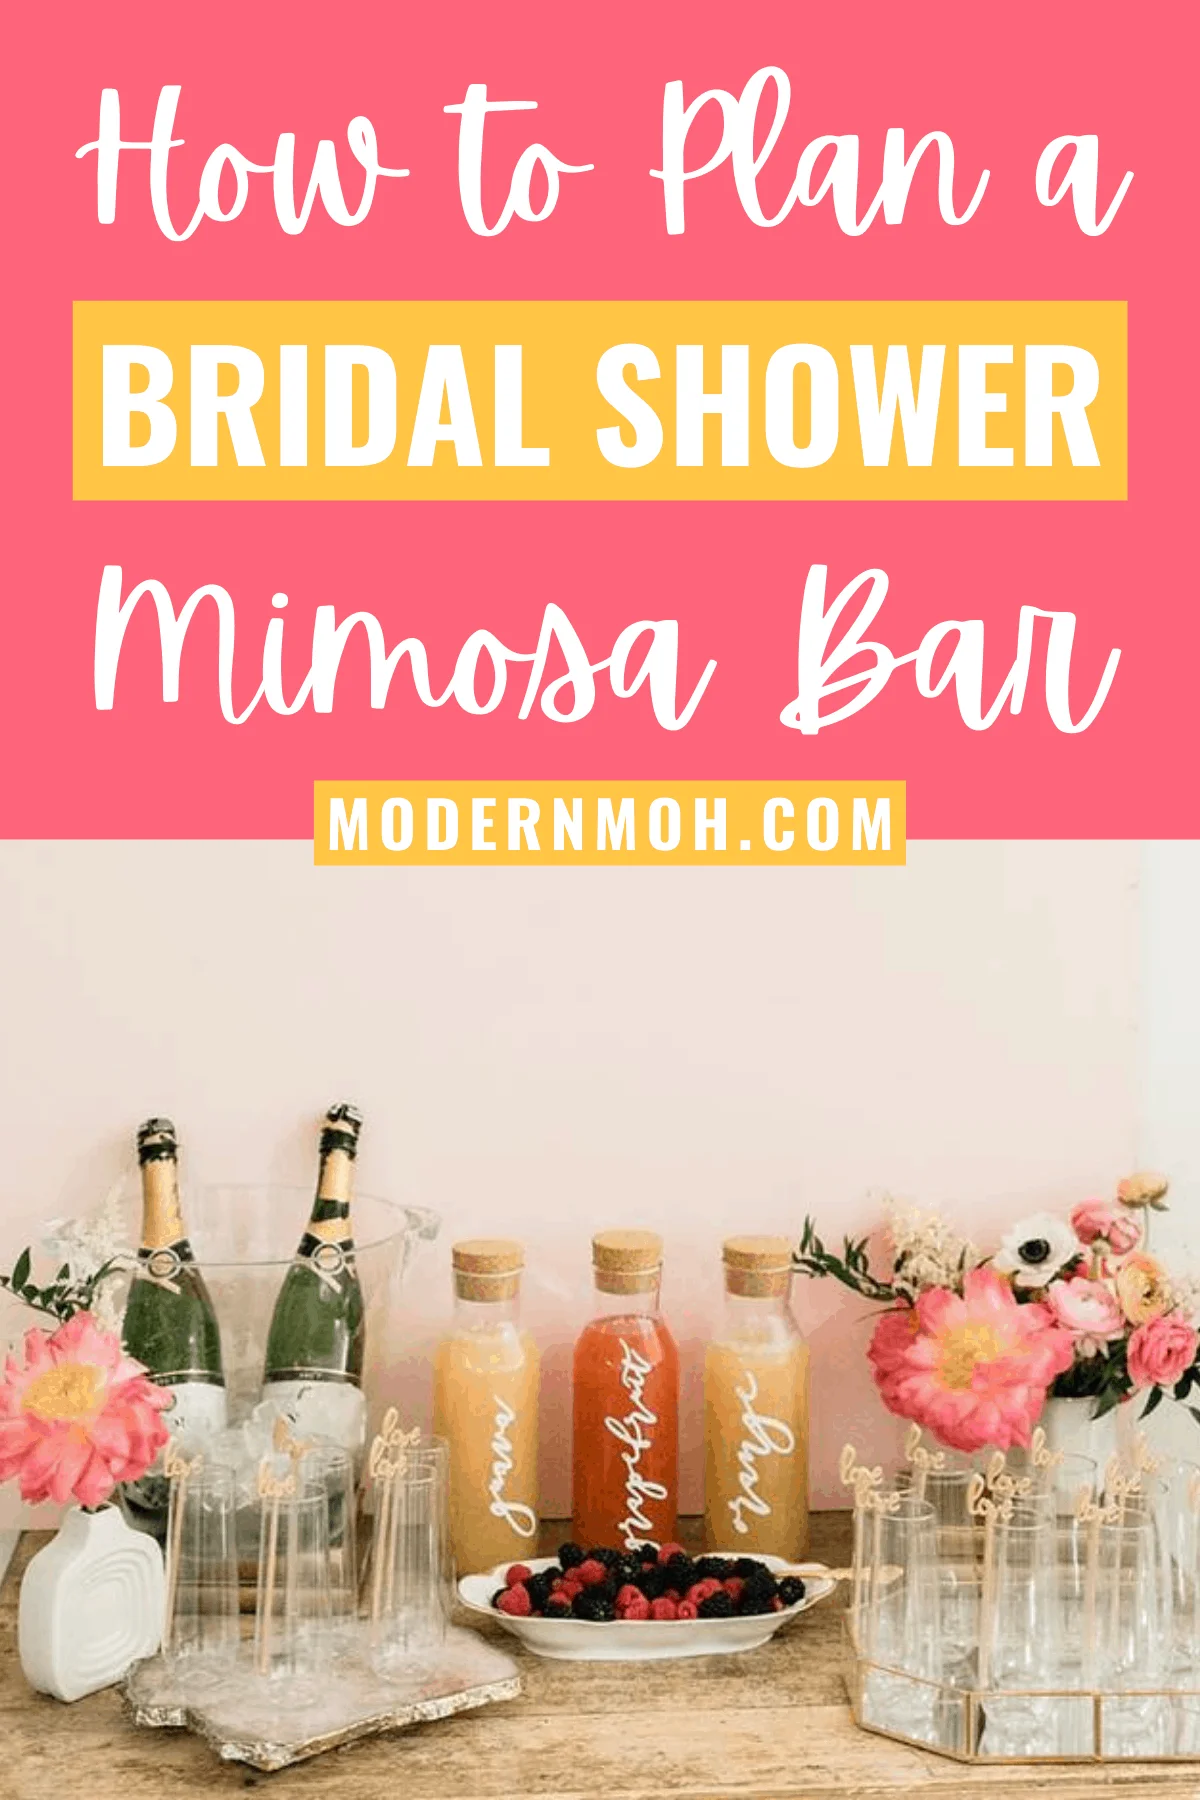
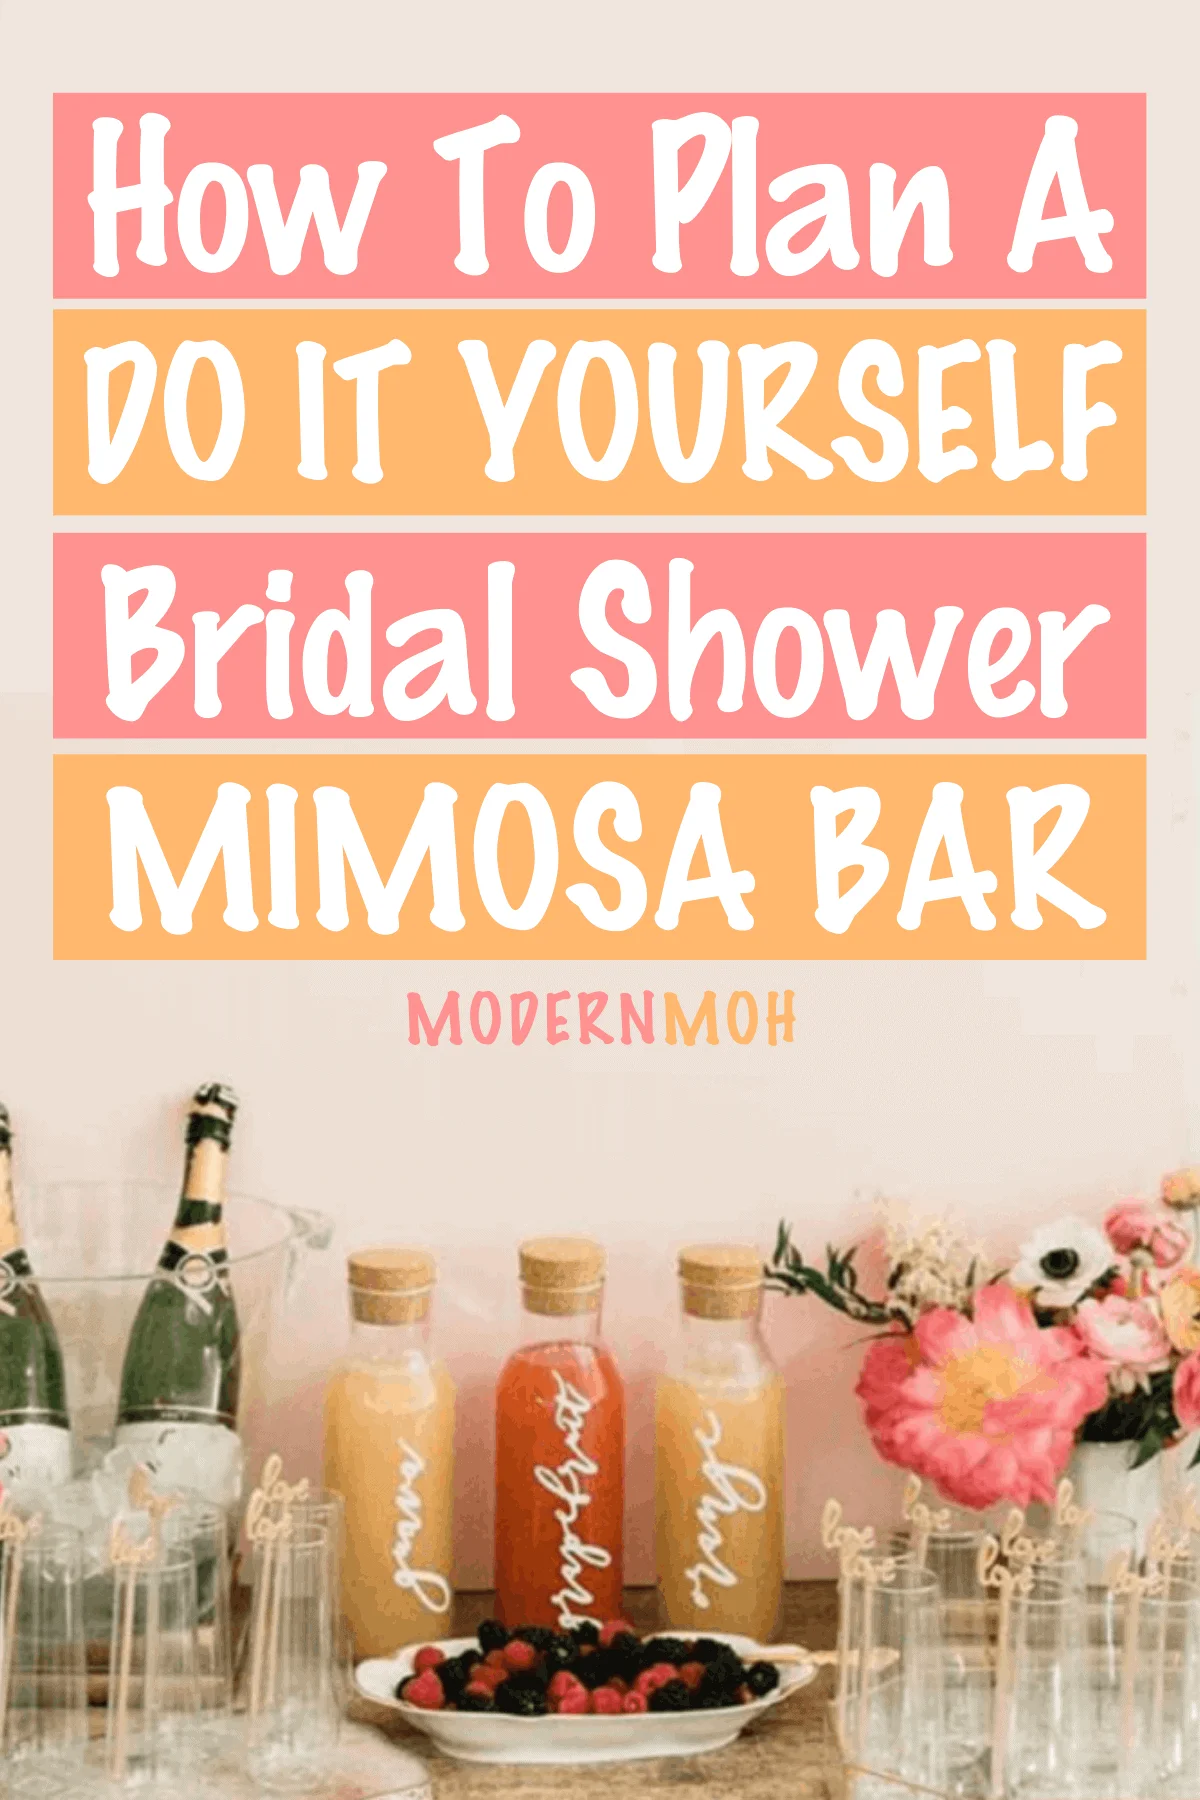
How to Plan the Perfect DIY Mimosa Bar for Your BFF’s Bridal Shower
Disclosure: This post contains affiliate links, meaning we earn commissions if you shop through the links below. As an Amazon Associate, I earn from qualifying purchases. Please read my disclaimer for more info.
There’s little else we here at Modern MOH love more than a DIY bridal shower mimosa bar, probably because we fancy ourselves something of a connoisseur on the subject of mimosas.
Not to mention, what better way to celebrate your bride-to-be than with a bridal brunch full of bubbly booze!? Trust us when we say there’s not, or we’d be raving about that instead.
Follow along with us as we guide you through the step-by-step process of planning the perfect mimosa bar and dish out all the day-of details you don’t want to miss.
The Mimosa Bar Planning Process
Bubbles
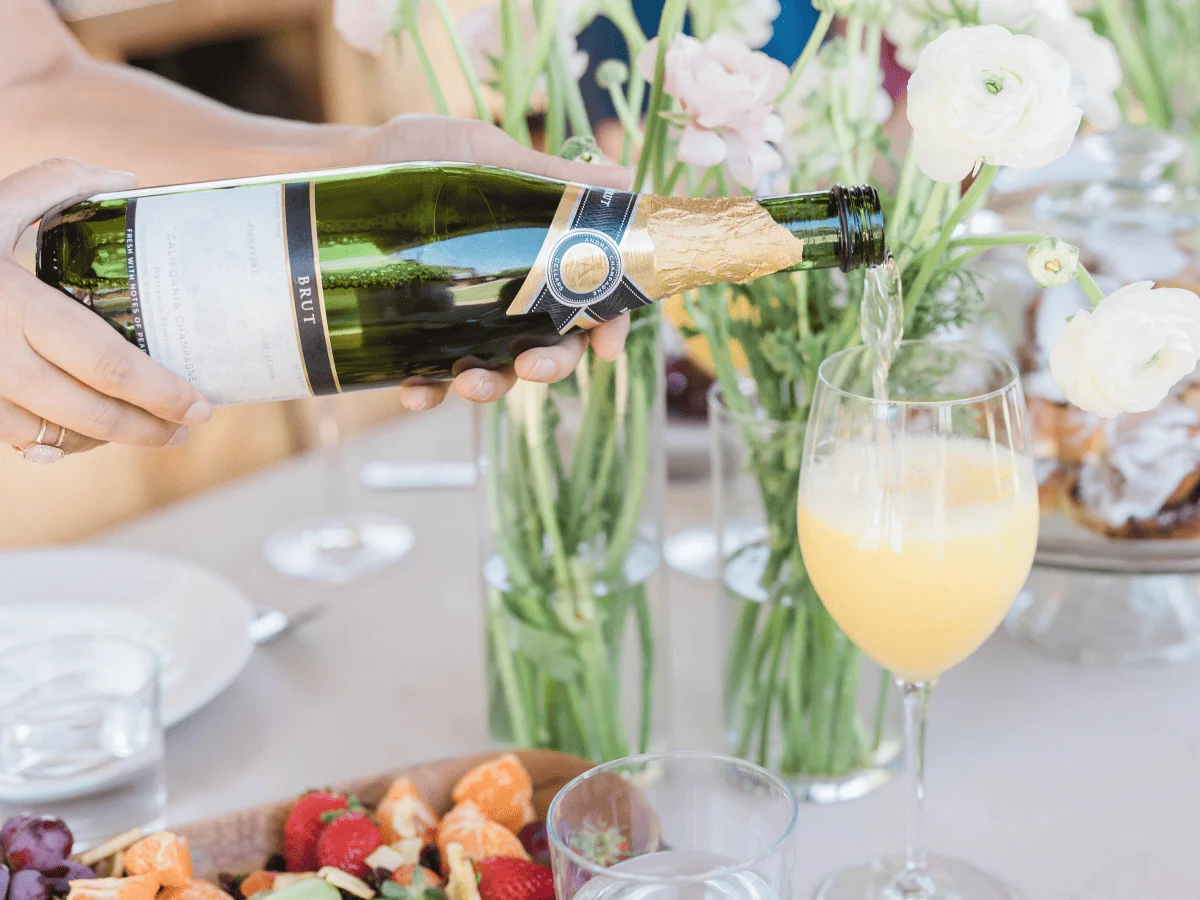
This is the most important step of them all, so let us help you out with the details. First, you must decide if your mimosa bar will feature champagne or prosecco. This decision could be as easy as knowing your bestie’s favorite brand or having one of your own.
If there’s nothing that stands out to you from the jump, consider factoring pricing and taste into your decision. We’ve found that champagne is generally cheaper than prosecco, while prosecco has become more popularly preferred over champagne.
Whatever type of bubbles you choose to go with, save yourself money by buying in bulk. Most liquor stores offer anywhere from 10 to 20 percent discounts when bought by the case (12 bottles) and chances are you’ll need close to as many bottles to serve a large group of guests. Believe us when we say it’s better to overbuy than to come up short, you can always gift the leftover champagne bottles to the bride and bridesmaids or save them for wedding morning mimosas.
Juice and Fruit
Once you’ve decided on the brand of bubbles to buy for your mimosa bar, it’s time to pick the different types of fruit and fruit juice you’ll be serving as supplements.
As far as juice goes, we recommend including the classics like orange, cranberry, pineapple, and grapefruit while also featuring some not-so-common alternatives like mango, guava, and papaya. Having a variety of juice options allows guests to mix and match different flavors and create their own favorite mimosa blends.
As for the fruit garnishes, our recommended choices include strawberries, blueberries, blackberries, raspberries, and orange slices. Label your different fruit and juice options with some hanging tags or mini chalkboard signs so there is no confusion as to what’s what.


Barware and Serveware
Now that you’ve selected all the ingredients you’ll need to purchase, you must decide on how you want to go about serving the mimosas. Lucky for you, we have the breakdown of everything you’ll need to get your bridal shower mimosa bar properly functioning. Let’s start with the most important of the supplies- the bubbles.
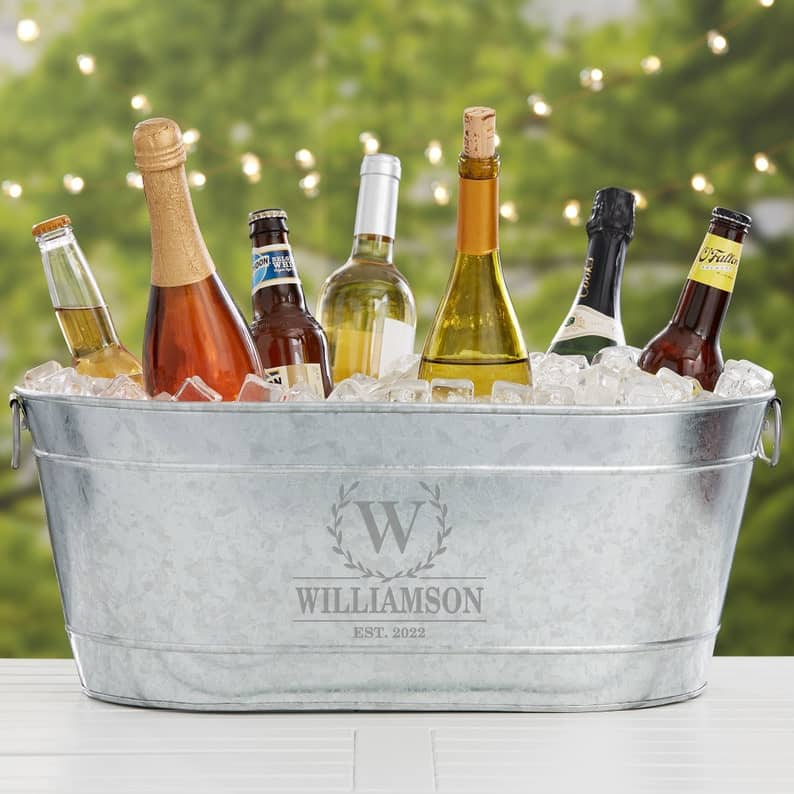
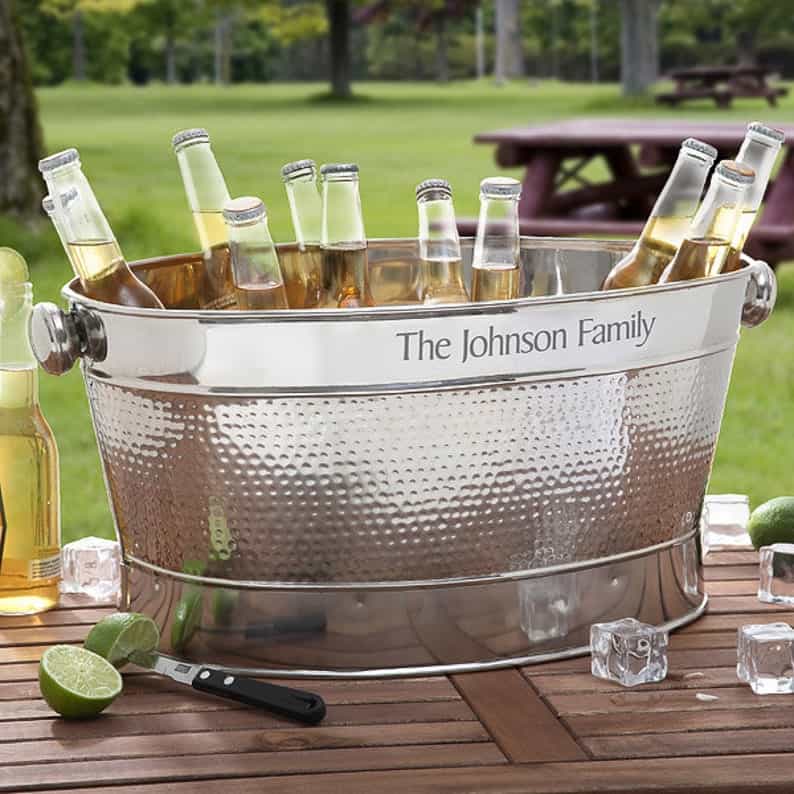
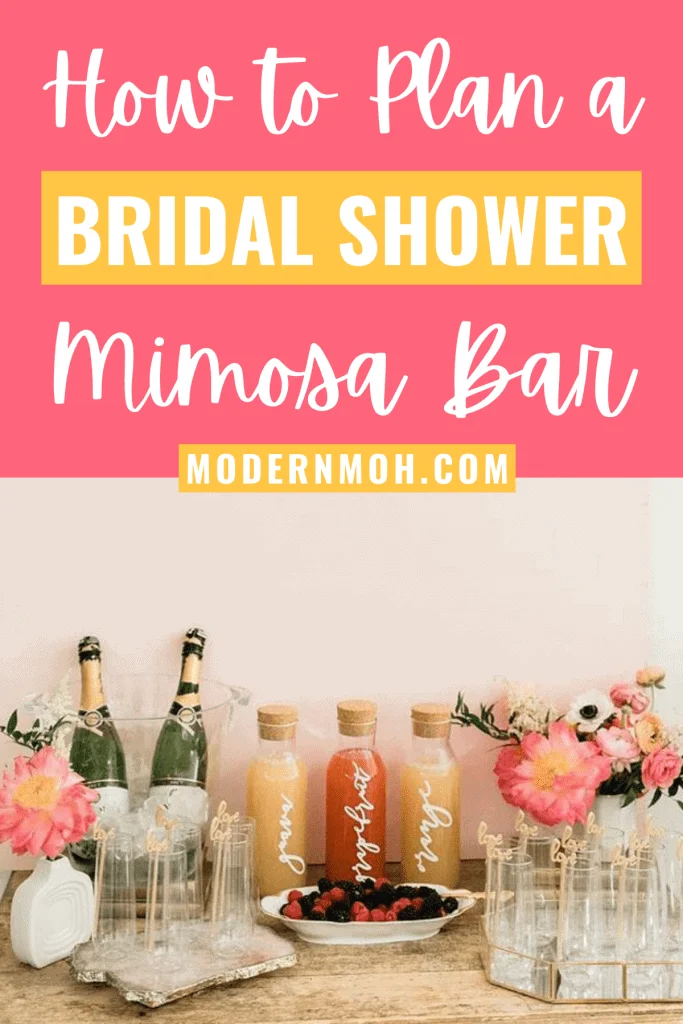
While you’ll want to have most, if not all, of the champagne bottles refrigerating, there should be two to three bottles out and opened at all times. This guarantees that multiple guests can be pouring at once and that as hostess, you won’t constantly have to switch out the empties. Go above and beyond by keeping the open champagne bottles chilled in a custom champagne tub that can double as a gift for the bride and groom.
For the juices, we recommend using plastic one-liter carafes, as the material makes them easy to handle and reuse. Serve the fresh fruit in plastic serving bowls along with mini tongs or spoons for easy pick-up. Finally, finish your mimosa bar set up with some cute recyclable champagne flutes.


Decorations
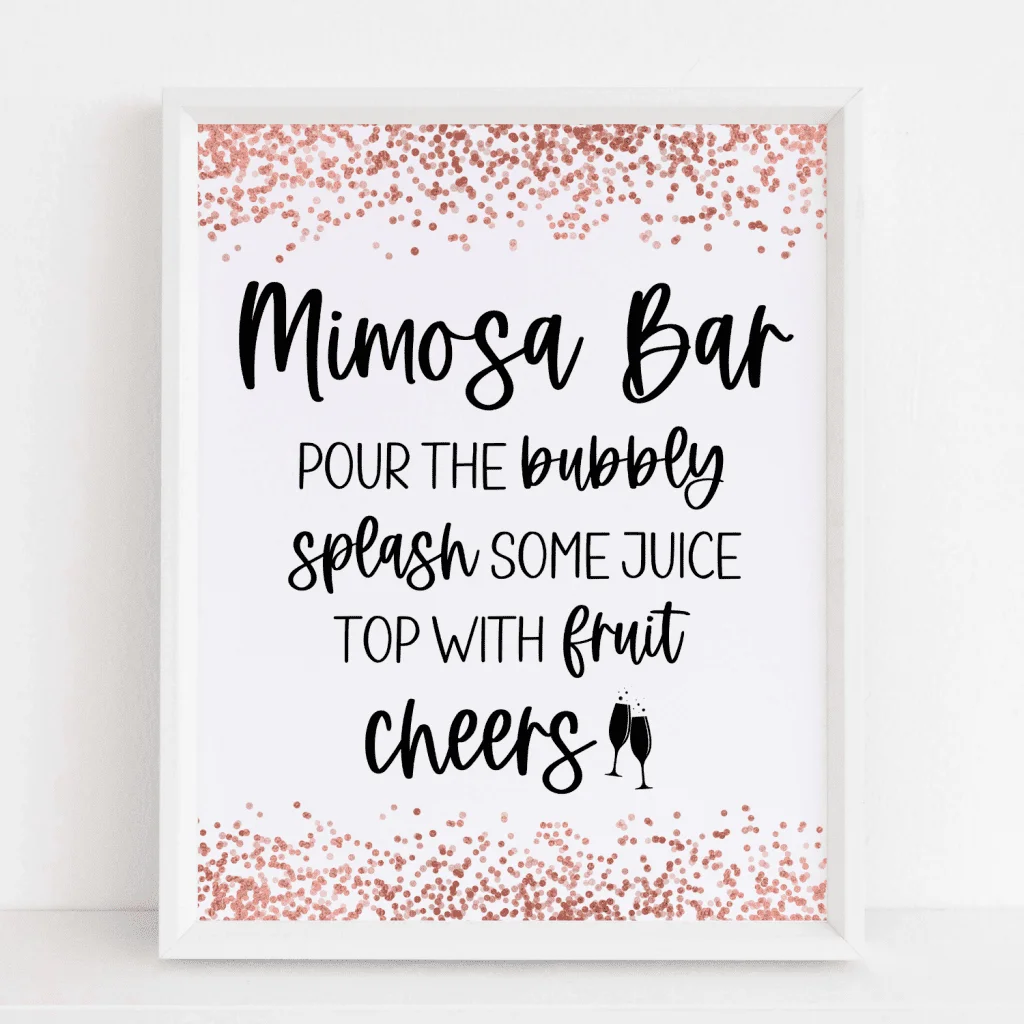
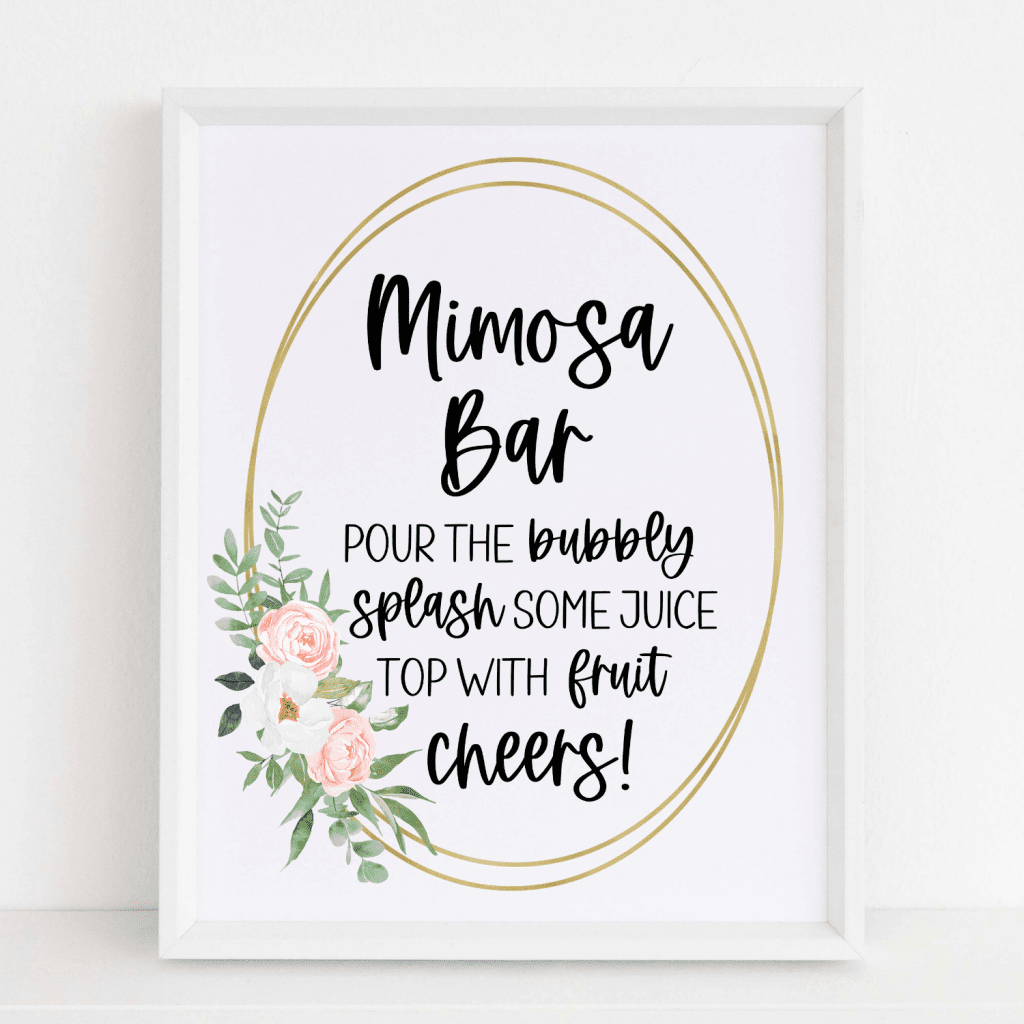
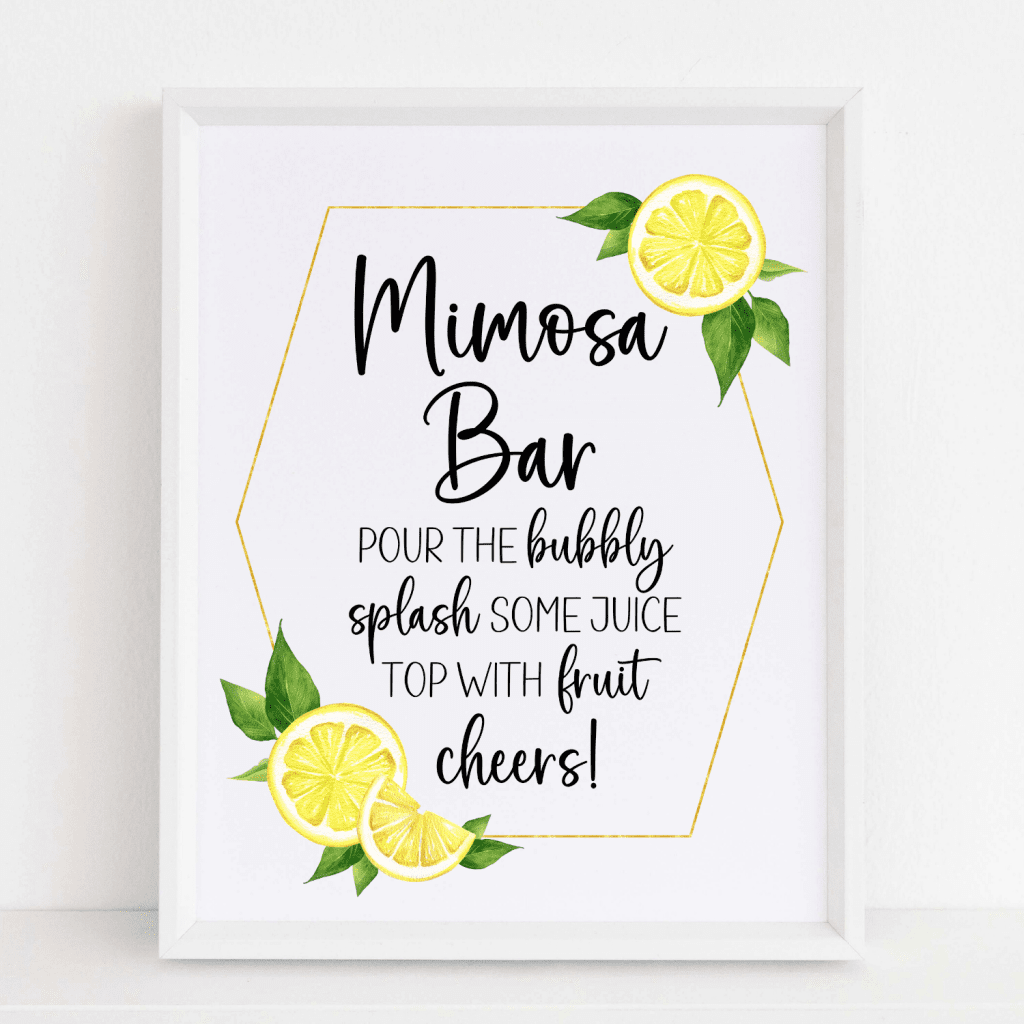
Of course, decorations aren’t absolutely necessary to execute a mimosa bar, but where’s the fun in that? This is your bestie’s bridal shower for goodness sake, so step it up girlfriend! Start with framing a mimosa bar sign (most guests will already know the order to go in, but it never hurts to have a super cute reminder!) to be set up next to the cups.
Next, hang a sparkly banner guaranteed to catch guests’ eye with a fun quote like ‘but first mimosas’ or ‘pop fizz clink’. If you already have a banner hung somewhere else and want to switch it up a bit, go for some awesome bubbly bar balloons instead. Trust us when we say that these extra decorative pieces will wow your BFF and make for great photo opportunities!


The Mimosa Bar Day-Of Duties
Set Up and Decorate
Once you’ve arrived at the venue and delegated decorating duties to your fellow bridesmaids, it’s time to focus on setting up your mimosa bar masterpiece. Start by finding fridge space to chill the fruit, juices, and as many bubbly bottles as you can fit.
Next, decide where your mimosa bar will be displayed if you already haven’t done so. We recommend having plenty of counter space while also keeping it out of the way of the food table. You want guests to be able to replenish their mimosas without running into other guests making their plates.
After determining the where, hang and display any decorations you’ve gotten as well as the cups and straws that will be used. As it gets closer to start time, say 15-20 minutes before, begin setting out the bubbles, juices, and fruit in that order. The idea is to have guests begin at the bubbly and end with the fruit, assembly-line style.
Replenish Bubbly Bottles
As the shower gets into full swing, it’s your responsibility as maid of honor to discard the empty champagne bottles and replenish your mimosa bar with fresh bubbles.
If you were unable to fit all the backup bottles in the fridge when you arrived, make sure you are using chilled bottles to serve and moving the room temperature ones into their empty fridge spot. This may seem like a lot of detail for a seemingly simple task, but believe us when we say you’ll have a lot going on as hostess and may end up forgetting every tiny task.
Refill Juices and Fruit
While you have your eye on the bubbly bottles, you’ll also want to be checking on the pace that the juice and fruit are being consumed by guests. Try to keep the juice carafes at least halfway full so you’re not constantly coming back to the mimosa bar to refill them.
Although they tend to dissipate a bit more slowly, the same applies to the fruit garnishes. Do yourself a favor and cut up whatever fruit you may need (usually strawberries and orange slices) the night before to save yourself time the day of.
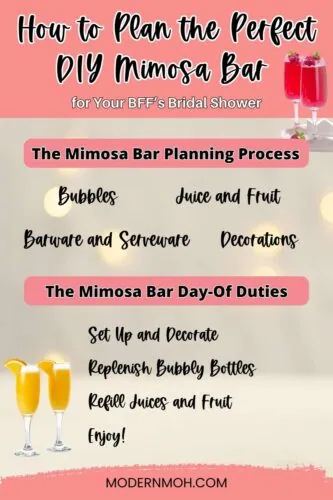
ENJOY!
Yes, you heard us, pop some bubbly and have yourself some mimosas! Being the hostess with the (mi)mostess does not mean you can’t get your toast on too.
Let’s be real, your number one responsibility as maid of honor is to make sure the bride and her guests are having a great time and what better way to make that happen than to celebrate alongside them.
Just don’t forget to snap tons of pics of your badass bridal shower mimosa bar!
Pin for Later!

RELATED: 11 Delicious DIY Food Bars Perfect for Any Bridal Shower