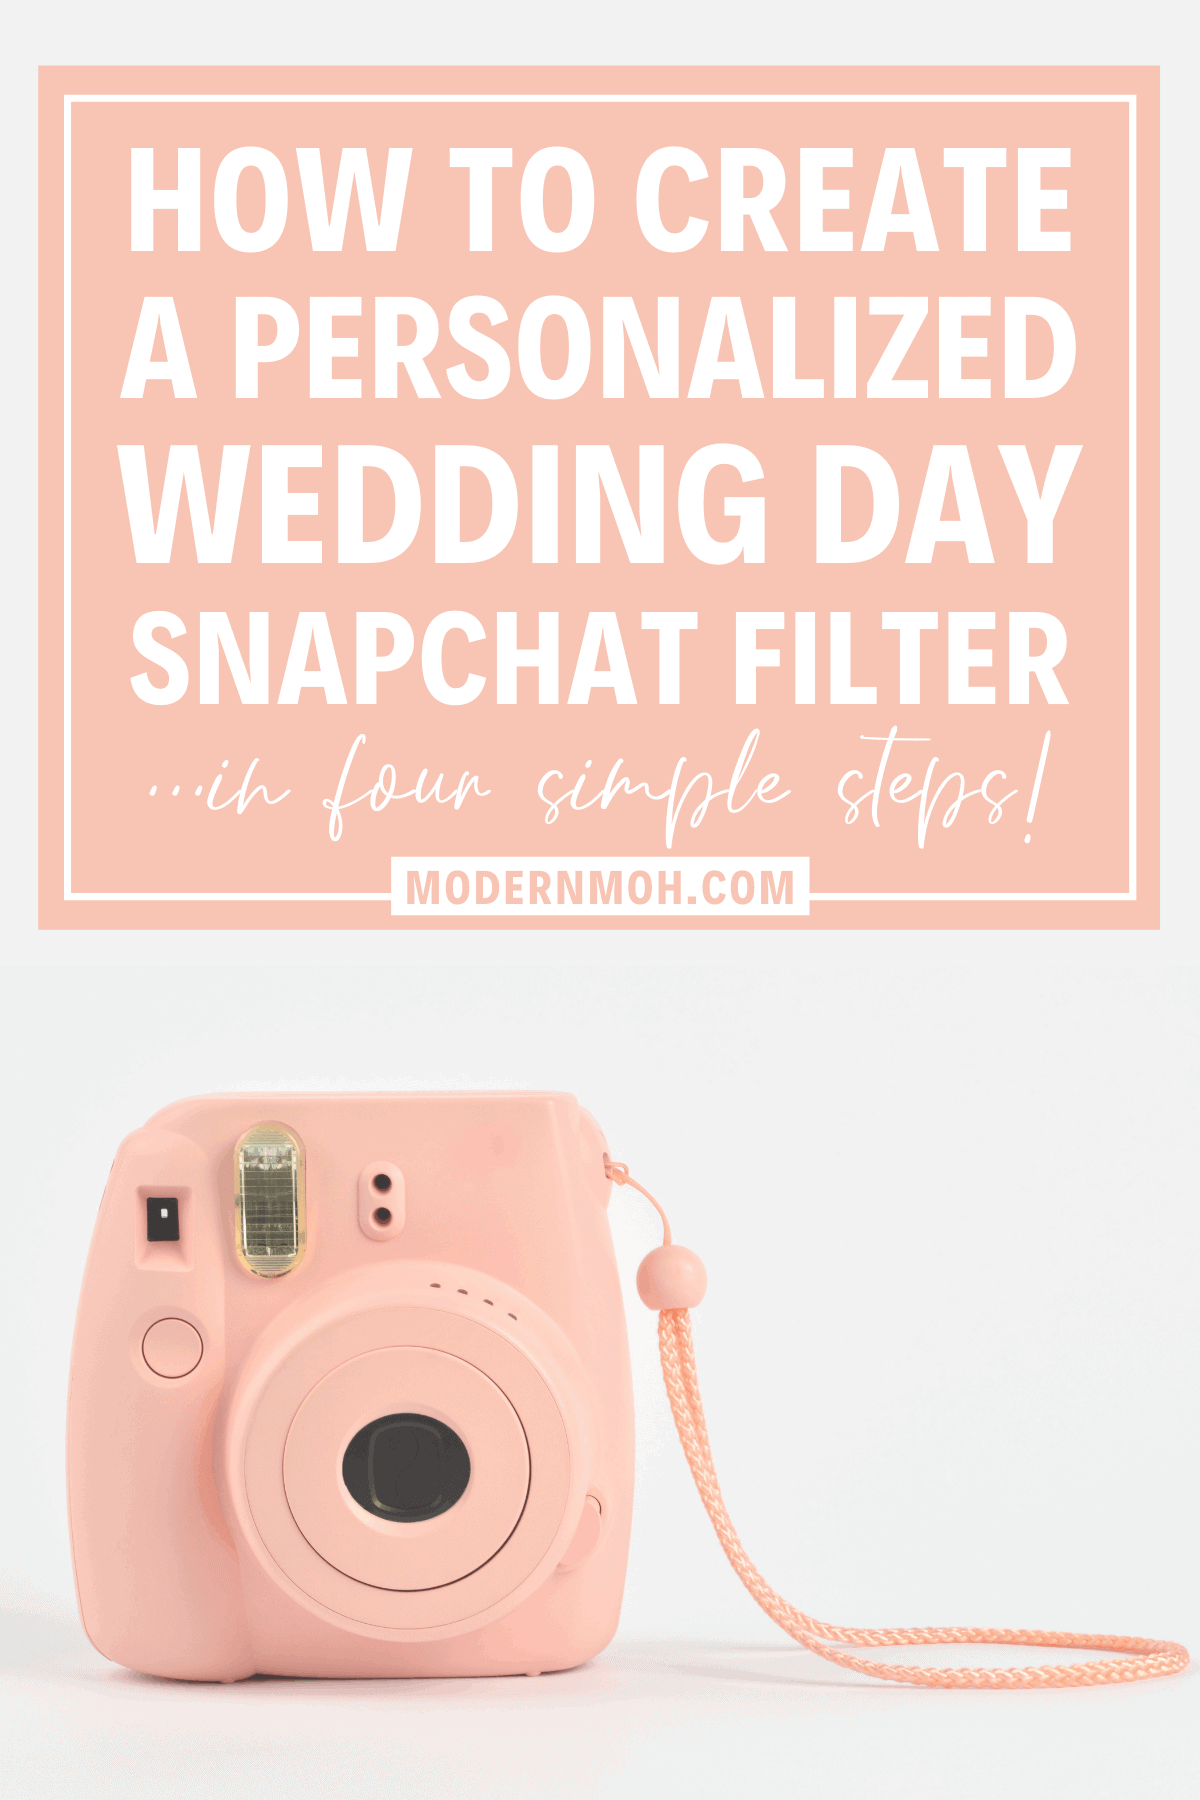
How to Create a Custom Wedding Snapchat Filter

Disclosure: This post contains affiliate links, meaning we earn commissions if you shop through the links below. As an Amazon Associate, I earn from qualifying purchases. Please read my disclaimer for more info.
With all of the craziness and chaos that comes with planning a wedding, there are lots of little details your bride is likely to overlook. One of those details being a custom Snapchat filter (aka geofilter) that is available for guests to use.
That’s why it’s one of your maid of honor duties to make sure that all social media snapshots are stamped with a super-cute signature. And before you go telling us that Snapchat is dying, we know. But don’t act like you’re above saving your snaps only to turn around and post them to your IG story (we know we aren’t).
So now that we’ve cleared that up, be sure to follow our simple 4-step process to setting up a personalized Snapchat filter to surprise your bride on her special day.
1. Create/customize your filter
When it comes to the actual design of the filter, you have two options: create your own unique version on Snapchat or purchase a premade, but customizable, option on Etsy. Aside from being free, the advantage of creating your filter on Snapchat is that you have complete control over the design.
First, you’re able to decide if you want to use a traditional filter or their lens feature. Then you’ll get to choose exactly what text you want to be displayed, including the color, font, and alignment. You’ll also have the option of using a premade template in the background.


On the other hand, the money you save by creating your own Snapchat filter will end up costing you time. Therefore, depending on how intricate you want your design to be or how creatively challenged you are, it may not be worth it. Also, while there are many different options when it comes to using Snapchat to create your filter, keep in mind that it is not as advanced as true graphic design software.
When it comes to purchasing a premade template on Etsy, there are many advantages. For starters, there are hundreds of different options, all of which are professionally designed. And as far as we can tell, all of these options are entirely customizable to include the couple’s name and wedding date. Furthermore, these templates are delivered as digital files that can be easily uploaded straight to Snapchat (no technical background required).


As far as disadvantages go, these Etsy filters do come with a price, although it’s not very steep (most run anywhere from $5-$12). Also, the fact that you have so many options is rather daunting. If you’re anything like us, you suck at making decisions, so it could end up taking you hours to find the perfect choice.
2. Select your date and time
Once you’ve either created or purchased your customized filter, your next step is to select the date and time you want it to be available on Snapchat. Unless you want the filter to go past midnight, the date will just be that of the wedding. When it comes to timing, it’s up to you to choose when you want the filter to start and end.
If the couple is okay with phones being present and personal pictures being taken during their ceremony, we suggest making that the start time. If this is a technology-free ceremony, we recommend having the start time coincide with the beginning of cocktail hour. As we’ll discuss in the next step, the larger the geographical parameter, the more expensive the filter becomes.
In other words, if the ceremony is at a church or a separate venue than the reception, it would be cheaper to start the filter at the approximate time guests will be arriving at that final location (less time and overall area you will have to cover/pay for). You can ultimately save yourself the most time and money by only having the filter available during the reception as that is when most photos are being taken anyways.

3. Determine your location/plot your geofence
After you select the date and time for your filter to be available, it’s time to determine the exact location you want to be covered, aka your geofence. Basically, this means that anyone using Snapchat while in this area will have the option to use your filter.
Start by typing in the name of the venue, or the address if it’s private property, into the search bar. Many well-known venues will automatically pick up their parameters or “fence”, but it’s ultimately up to you to make it as big or small as you prefer. If your venue doesn’t have set parameters, simply click the ‘draw fence’ button and begin establishing your points.
Again, it’s up to you to determine exactly what area to cover, but keep in mind the more space, the more expensive it will be. If the venue is particularly small, we recommend selecting the entire structure/any outdoor space you’ll be using. If the venue itself is large, but the reception area is small, try to narrow it down to save yourself some money.


4. Submit and purchase your filter
This last step is easy! Simply review your order summary, name your filter, and enter your payment information. Keep in mind that Snapchat does not automatically approve your filter, there is a review process involved. Depending on the amount of submissions they are currently reviewing, it could take up to 3 weeks to get your filter approved.
More likely than not, it will only take a few days (or even hours), but it’s better to be safe than sorry. Once your filter has been approved, you’ll receive a confirmation email from Snapchat letting you know so.

To ensure that your phone picks up the filter when it’s live, double-check that your location services are on. (Settings > Privacy > Location Services > Toggle On). You’ll also want to double-check your Snapchat location services are set to “While Using the App”. Finally, double-check that your filters setting is turned on in the app itself (Settings > Manage > Filters > Toggle On).
Bonus Step
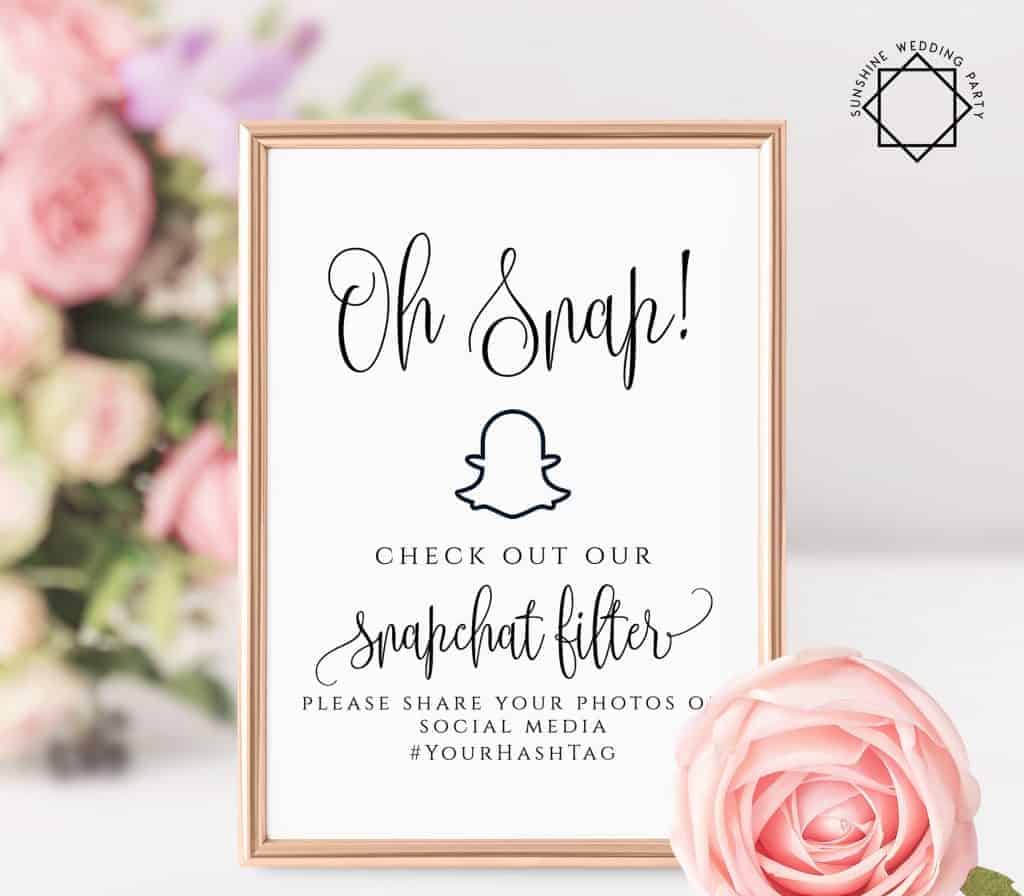
Take your surprise to the next level by ordering a sign to announce that there is a Snapchat filter available. This way guests know to look for and use the filter without you having to make a huge announcement. Also, this encourages guests to add the couple’s wedding or bachelorette party hashtag to their social media posts, so these pics will be easy to find and save!
UP NEXT: The Greatest Getting Ready Wedding Day Playlist